
Until recently, I could have sworn I was one of the few who knew how to do this. My friends and I have been making these things for years and years now. It was just recently that I learned that other people call these "Fire Balloons". I did an internet search on that and wow, I'm not alone here.
But that's ok. There are still many people who have never heard, or thought of doing what I describe below.
So read on and enjoy!
DISCUSS YOUR UFO
ADVENTURES IN THE
UFO FORUM!
Here's what you need:
 (1)
Standard size Dry Cleaner Bag.
(1)
Standard size Dry Cleaner Bag.
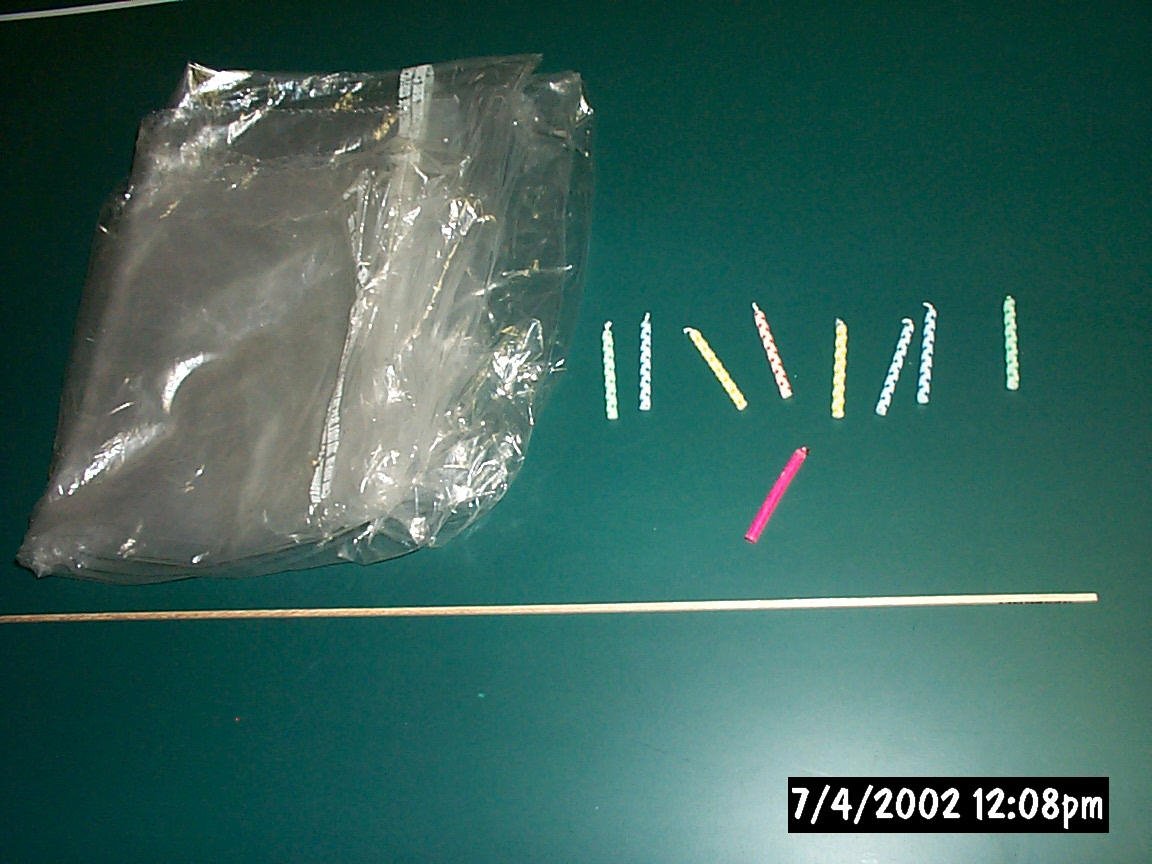
(1) piece of Balsa wood. (1/8" x 1/8" x 36" long). (Pictured above)
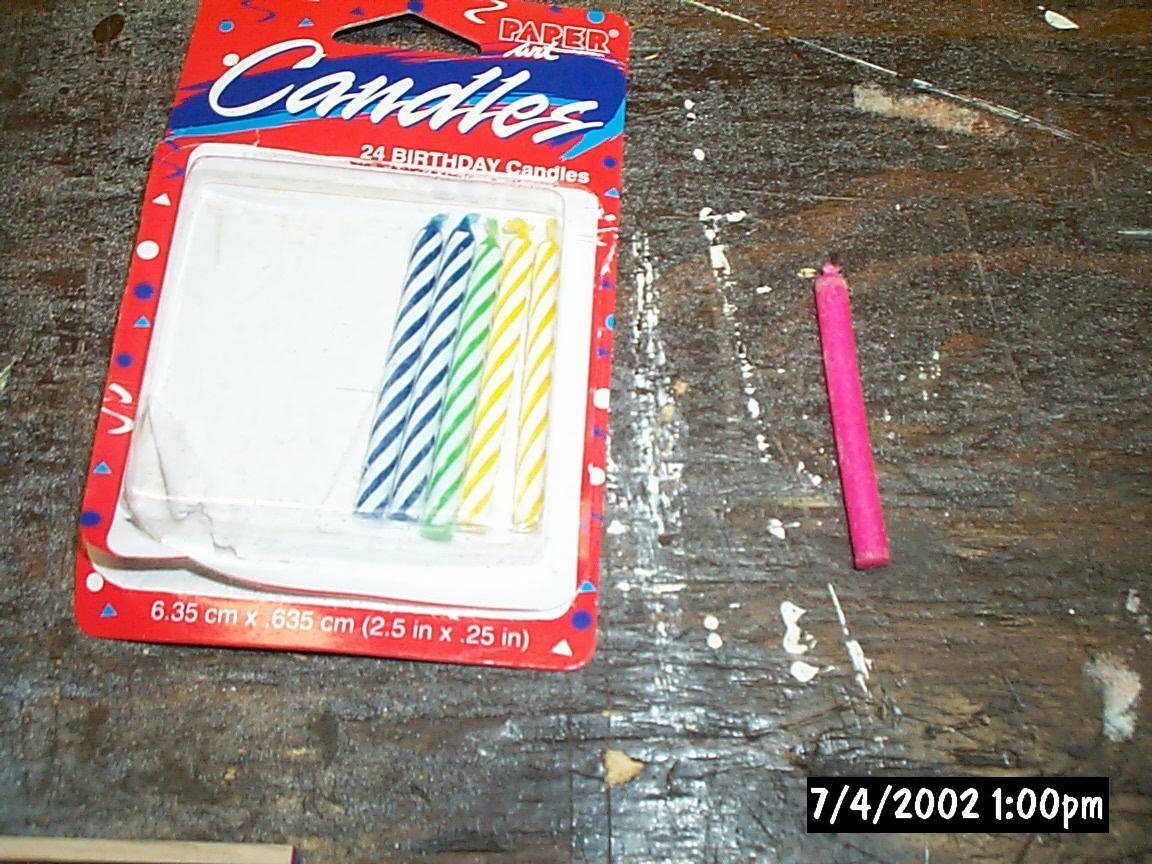 (17)
Birthday Candles. The single candle pictured on the right is more desirable because
it is lacking the fancy wax design. This just adds extra weight . If you
have a choice, buy the simplest candle you can get, like the one pictured at
right. If you can only get the kind on the left, there is an upside to
using this heavier candle. I will
show you how to use that type to your advantage later on.
(17)
Birthday Candles. The single candle pictured on the right is more desirable because
it is lacking the fancy wax design. This just adds extra weight . If you
have a choice, buy the simplest candle you can get, like the one pictured at
right. If you can only get the kind on the left, there is an upside to
using this heavier candle. I will
show you how to use that type to your advantage later on.
An Iron (ya know, that thing you use to Iron your clothes)
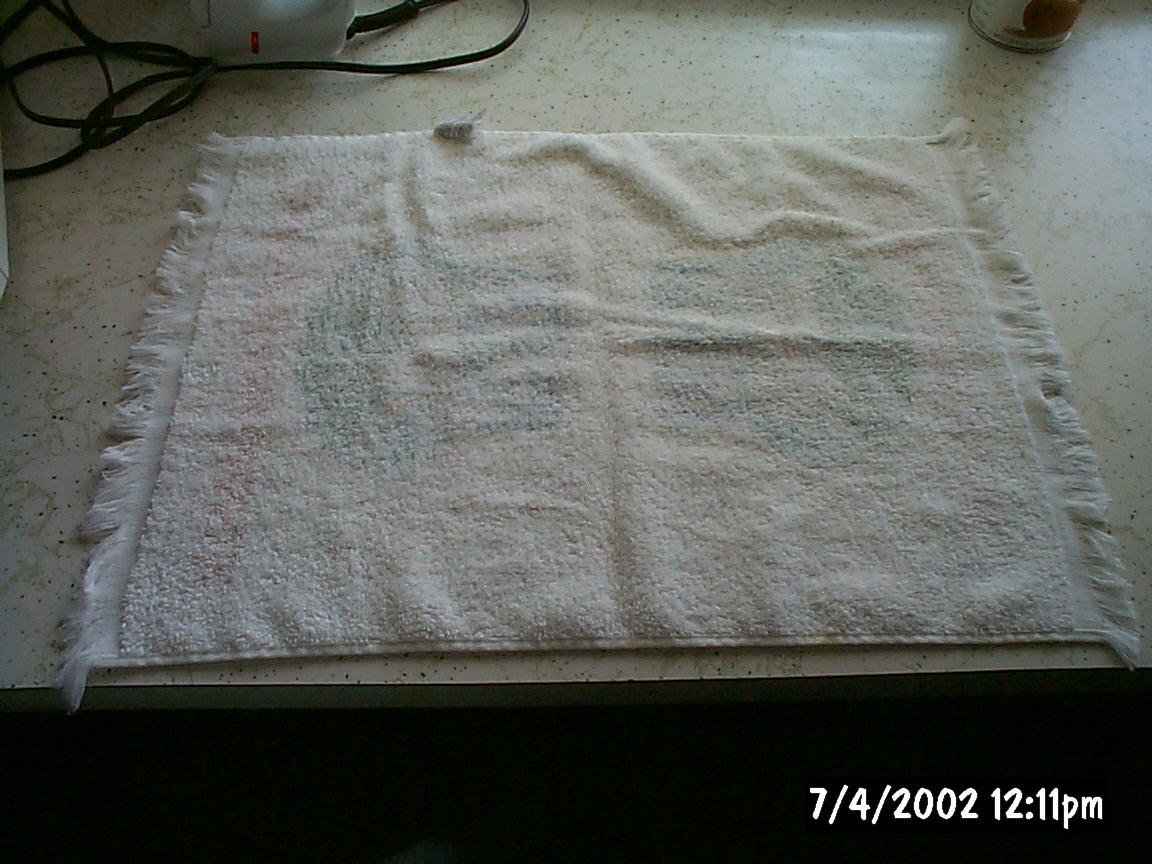 (2)
Towels, 2 old cotton shirts or something else that can be used to protect the
dry cleaner bag from the Iron. Whatever you use may get melted plastic on
it so keep that in mind.
(2)
Towels, 2 old cotton shirts or something else that can be used to protect the
dry cleaner bag from the Iron. Whatever you use may get melted plastic on
it so keep that in mind.
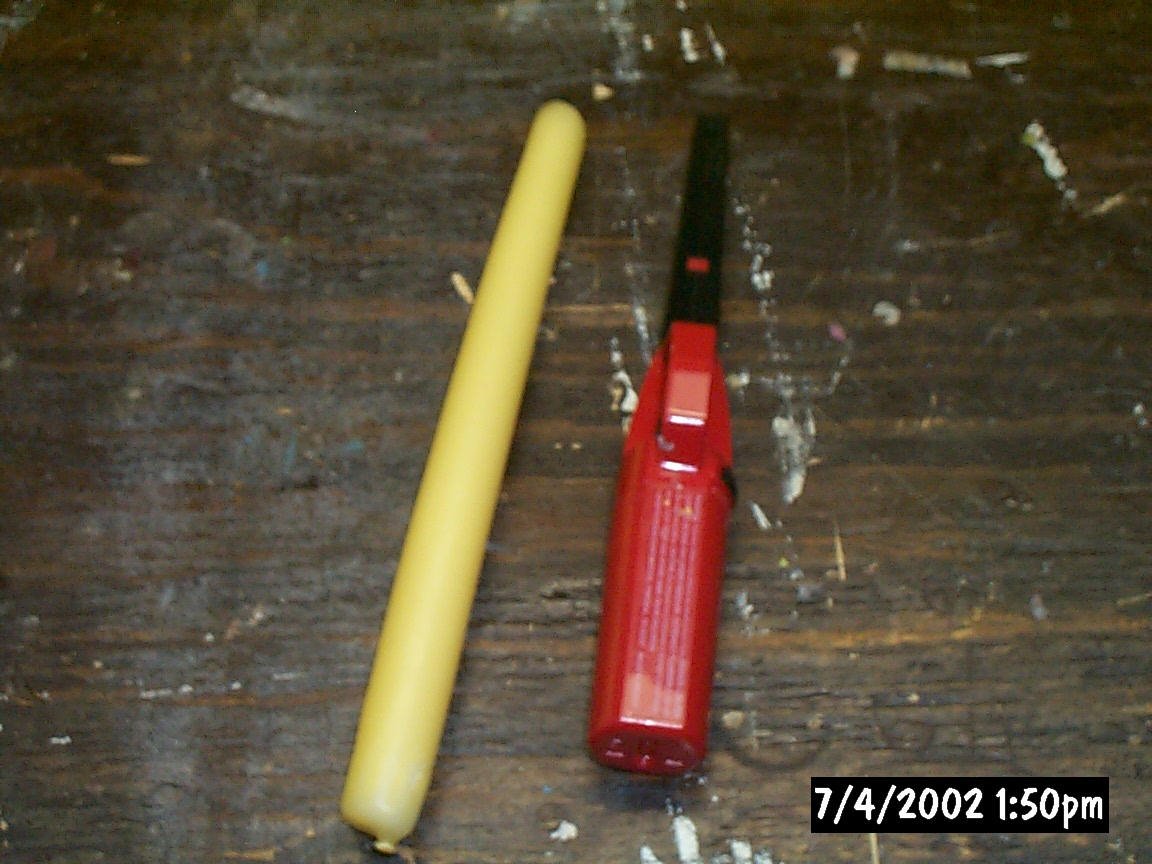 (1)
big candle, and (1) butane lighter.
(1)
big candle, and (1) butane lighter.
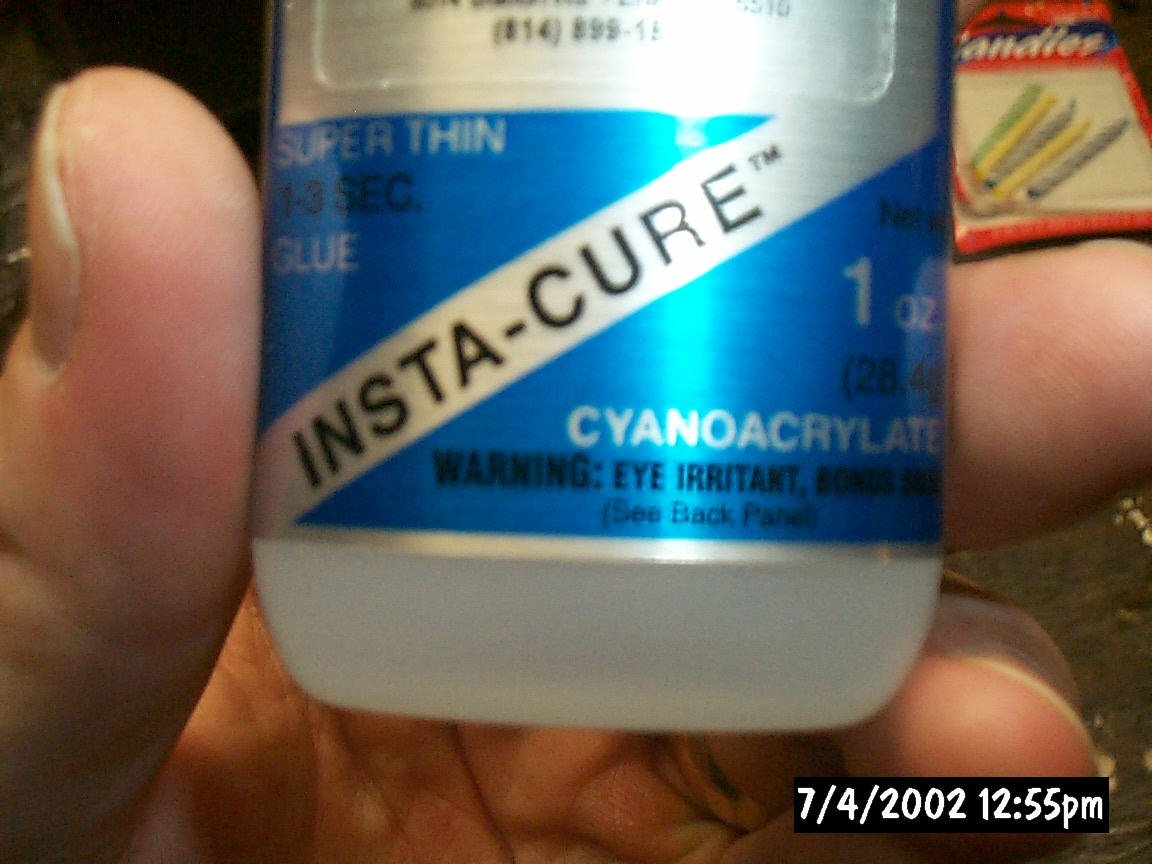 Cyanoacrylate
glue (Super Glue). Or other glue to glue two pieces of balsa together.
Cyanoacrylate
glue (Super Glue). Or other glue to glue two pieces of balsa together.
An Exacto knife or razor blade.
LET'S BUILD IT!
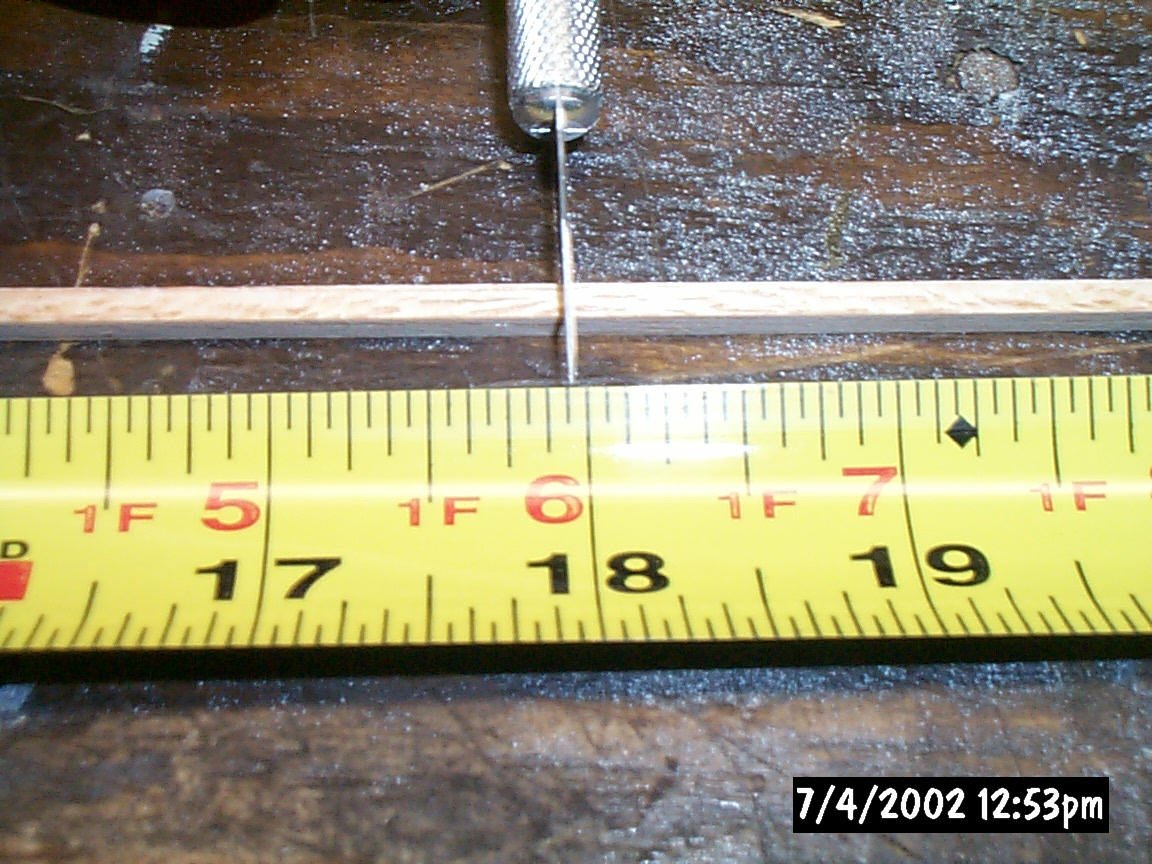 Take
your 36" piece of balsa and cut it in half. This should give you (2) 18"
pieces.
Take
your 36" piece of balsa and cut it in half. This should give you (2) 18"
pieces.
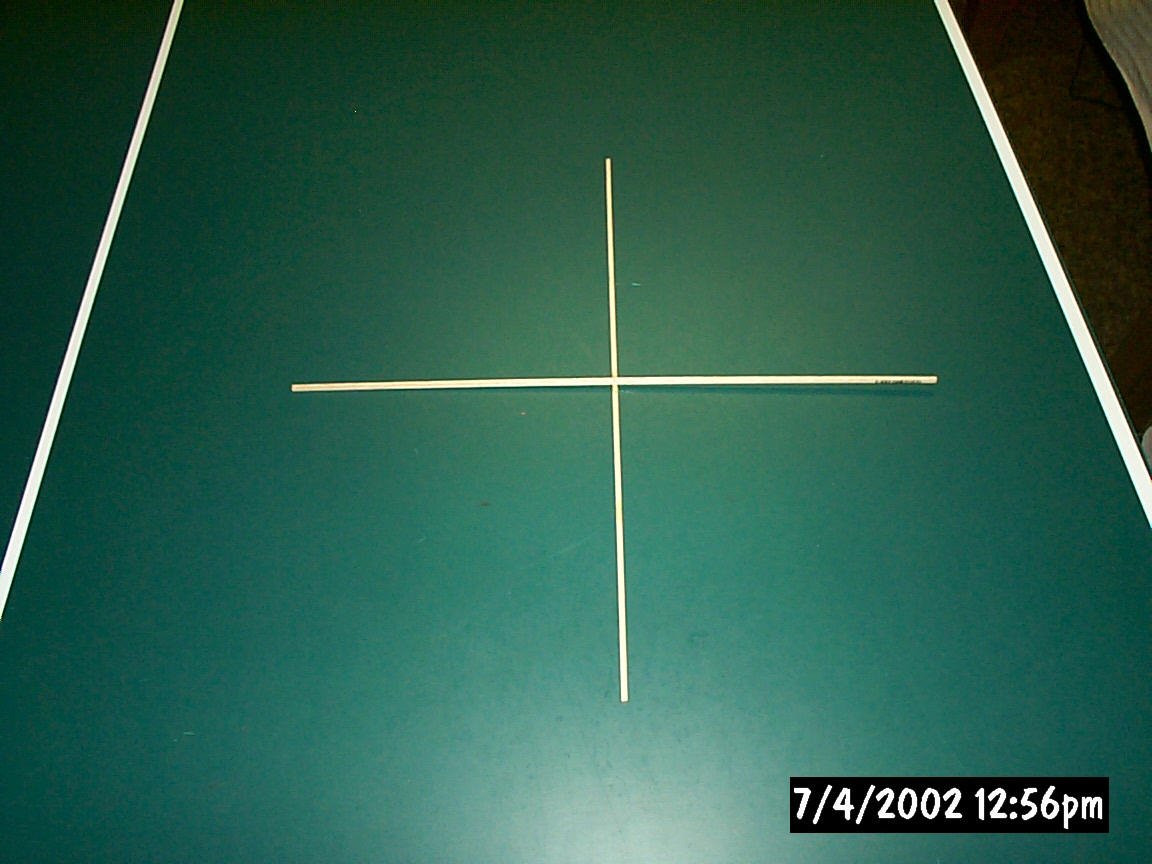 Glue
the two pieces of balsa together at the center to form an even cross.
Let it dry so it is good and strong before proceeding. I use the
Cyanoacrylate because it is strong and dries lightning fast.
Glue
the two pieces of balsa together at the center to form an even cross.
Let it dry so it is good and strong before proceeding. I use the
Cyanoacrylate because it is strong and dries lightning fast.
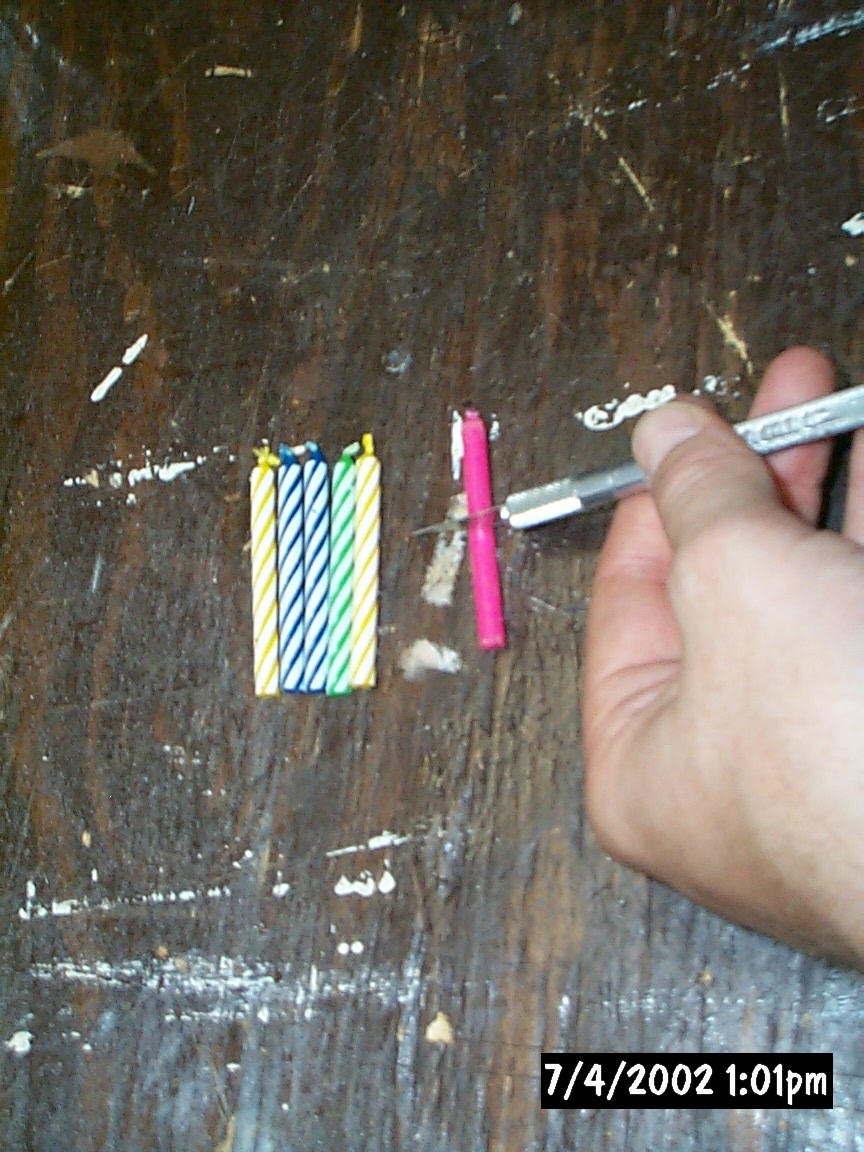 Use
your Exacto knife to cut the candles down to size. Full size candles are
much too heavy. You can cut them in half exactly or you can do as I do,
which is cut them a little bit larger than half sized. I light the candles
at the end of the PRE-HEAT stage. This will not only bring your bag to proper
temp in a hurry, but by burning them a tad early, it will also
get the candles to half size before liftoff.
Use
your Exacto knife to cut the candles down to size. Full size candles are
much too heavy. You can cut them in half exactly or you can do as I do,
which is cut them a little bit larger than half sized. I light the candles
at the end of the PRE-HEAT stage. This will not only bring your bag to proper
temp in a hurry, but by burning them a tad early, it will also
get the candles to half size before liftoff.
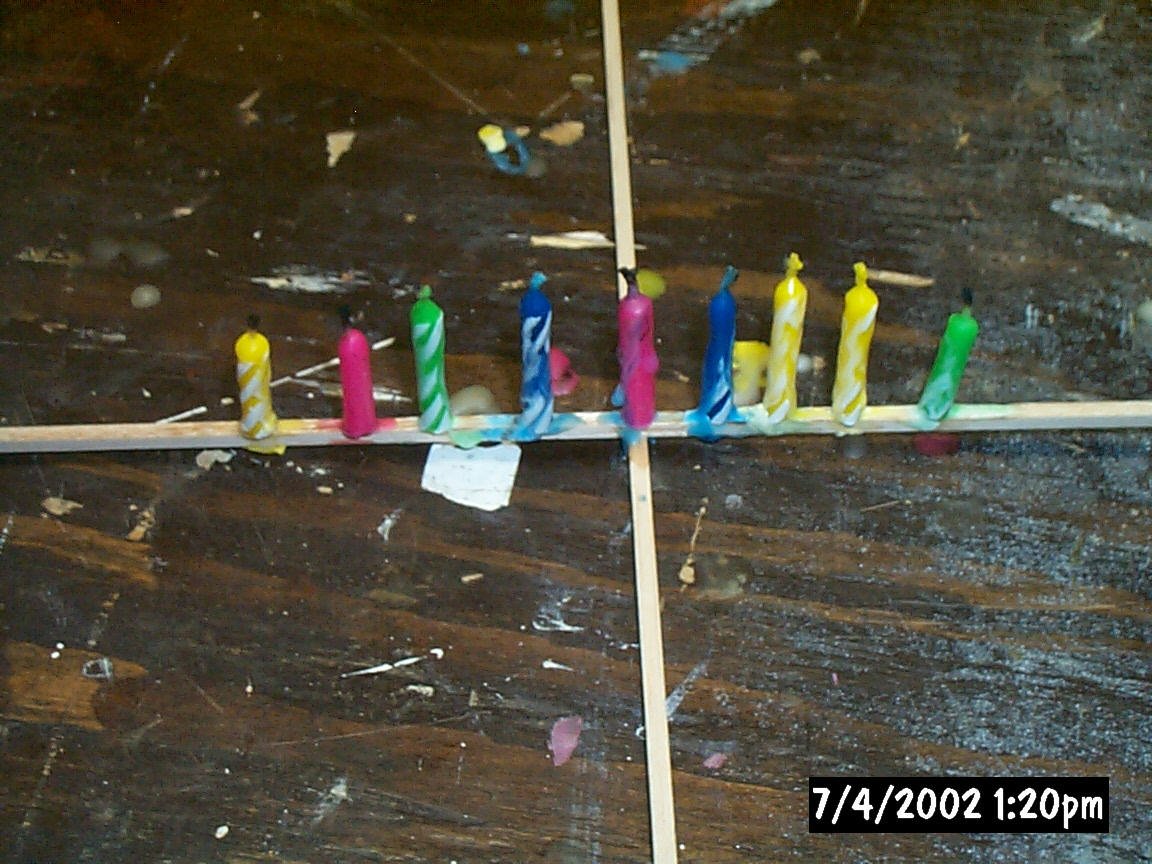
 Here
are the cut candles. Cut until you have 17 shortened candles.
Here
are the cut candles. Cut until you have 17 shortened candles.
 Use
a candle to drop some wax onto the center of your frame and before it dries...
GO TO STEP 6!!!
Use
a candle to drop some wax onto the center of your frame and before it dries...
GO TO STEP 6!!!
 Place
a candle in the center on top of the newly placed hot wax. You should only have
to hold it for a few seconds. It should stay on it's own as long as it
isn't bumped. The wax will hold it just fine after it dries completely.
Place
a candle in the center on top of the newly placed hot wax. You should only have
to hold it for a few seconds. It should stay on it's own as long as it
isn't bumped. The wax will hold it just fine after it dries completely.
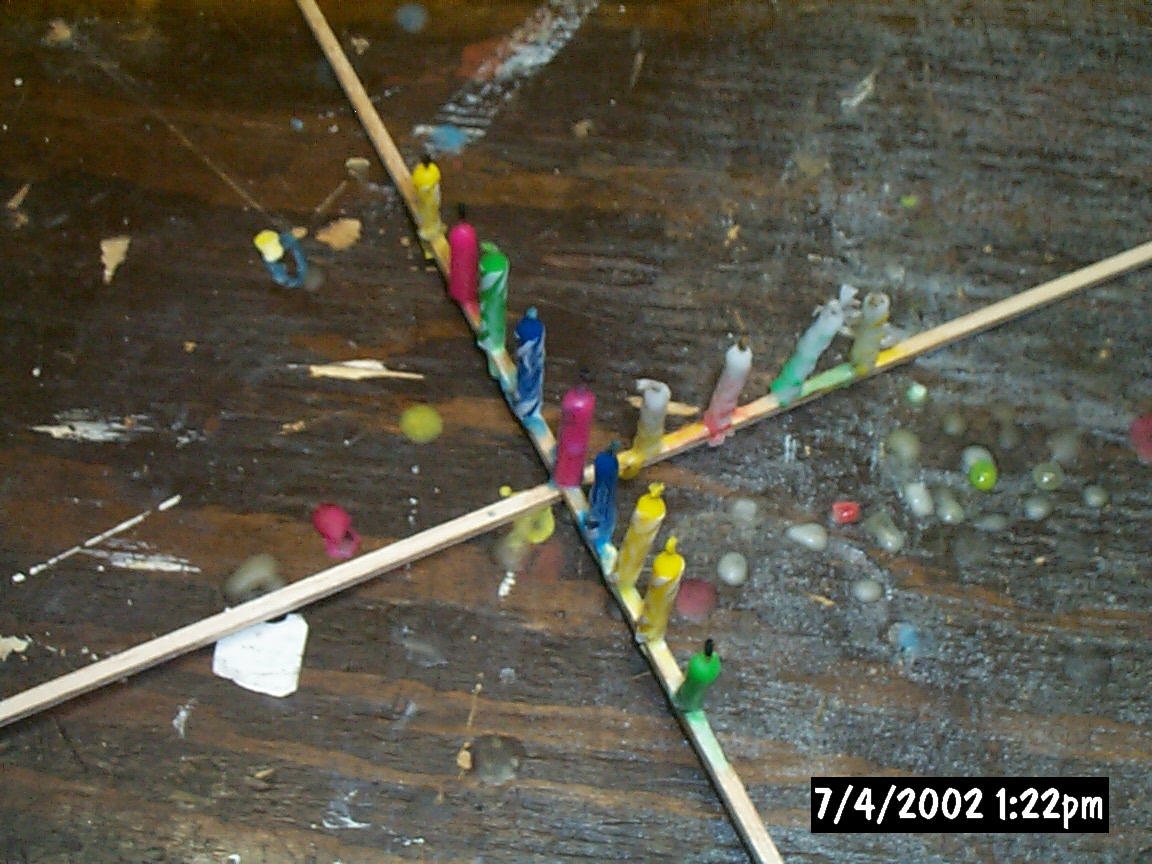
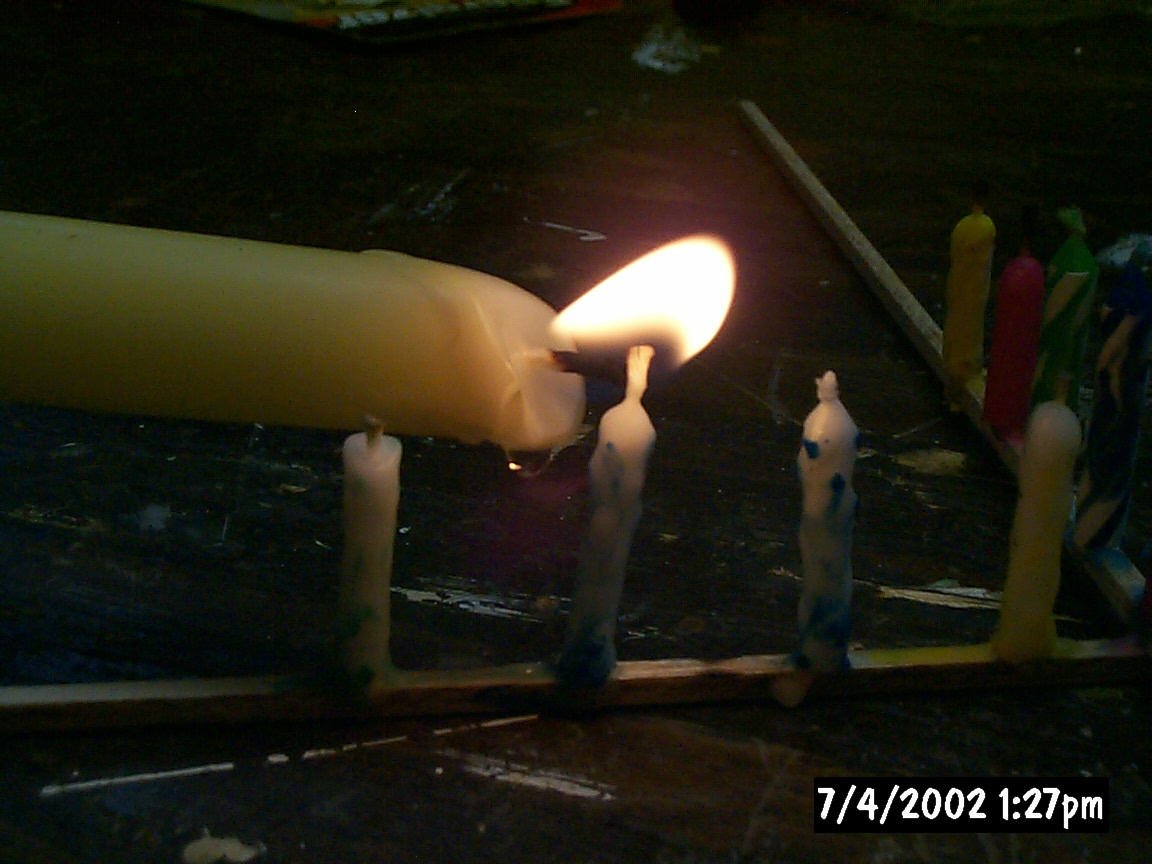
 Mount
your second candle. Take a look at the picture. I use a candle to melt the
"fancy" wax off those fancy candles. The wax will run down the candle and
around the base and will help secure the candle to the frame. You can even
do this while holding the candle on dry wood. This makes short work of mounting
the candles and may actually make the extra weight they bring, worth it. Extra
weight may or may not matter. This of course depends on the outside air
temperature on launch day, but we'll talk about that later.
Mount
your second candle. Take a look at the picture. I use a candle to melt the
"fancy" wax off those fancy candles. The wax will run down the candle and
around the base and will help secure the candle to the frame. You can even
do this while holding the candle on dry wood. This makes short work of mounting
the candles and may actually make the extra weight they bring, worth it. Extra
weight may or may not matter. This of course depends on the outside air
temperature on launch day, but we'll talk about that later.
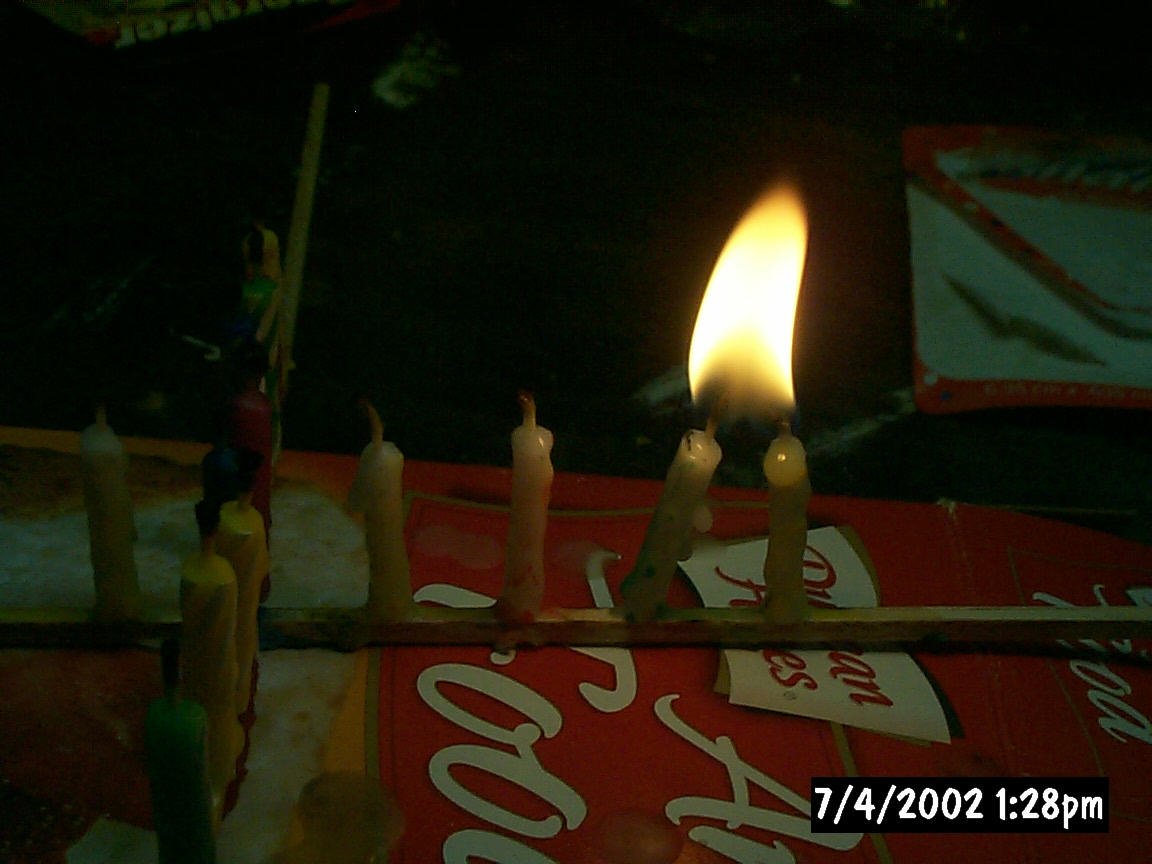 Here
is what I call the dual burn method. While mounting your candles, you also have
the option of putting 2 candles close enough together so that they generate more
heat together than they would separately. Some may say "yes, but it also burns
faster making shorter flights". It's up to you. Experiment if you feel
like it.
Here
is what I call the dual burn method. While mounting your candles, you also have
the option of putting 2 candles close enough together so that they generate more
heat together than they would separately. Some may say "yes, but it also burns
faster making shorter flights". It's up to you. Experiment if you feel
like it.
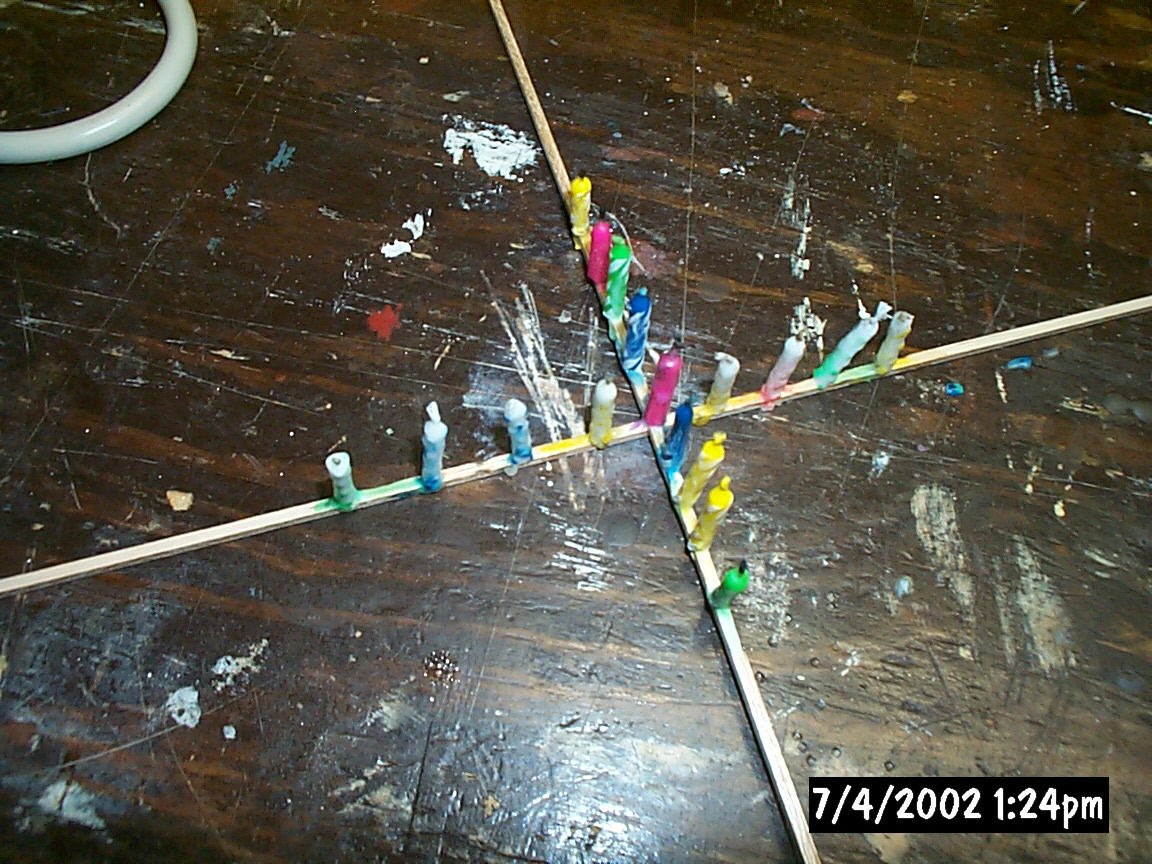 Repeat
the above procedures for all subsequent candles. Use the dual burn method if you
like for several candles. If you do decide to do the dual burn.
Only do it for 2 or 3 sets of candles. Putting a bunch together just
gives you one big massive heat instead of the slow, steady heat you need for
long duration flights. The dual burn may also be used to get your UFO into the
air on REALLY hot nights where the single burns wouldn't.
NOTE: I RARELY do the dual burn. I have great
flights with just the standard setup but it is on option to consider on really
hot nights.
Repeat
the above procedures for all subsequent candles. Use the dual burn method if you
like for several candles. If you do decide to do the dual burn.
Only do it for 2 or 3 sets of candles. Putting a bunch together just
gives you one big massive heat instead of the slow, steady heat you need for
long duration flights. The dual burn may also be used to get your UFO into the
air on REALLY hot nights where the single burns wouldn't.
NOTE: I RARELY do the dual burn. I have great
flights with just the standard setup but it is on option to consider on really
hot nights.
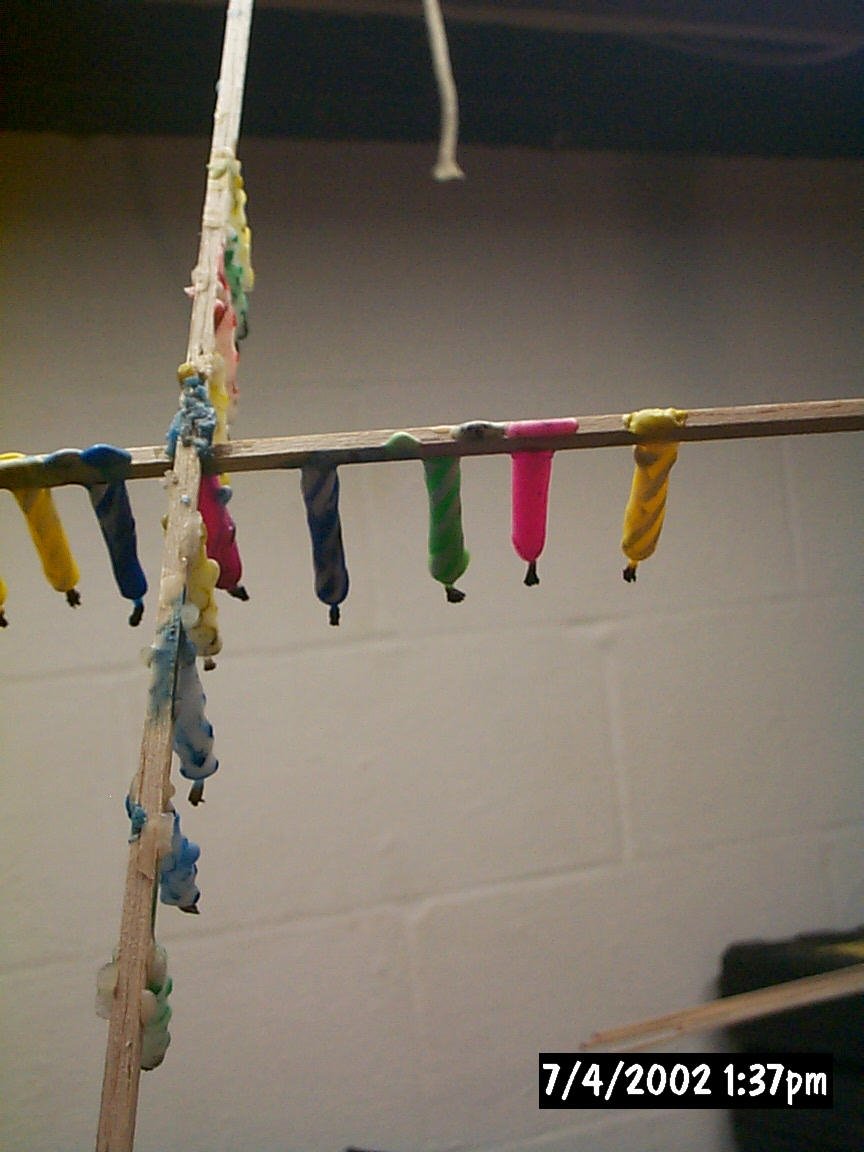
 I
like to pre-light all the brand new candles that haven't been used before.
The last thing you want is a set of candles that won't light while your trying
to launch! Don't let them burn long at all. Just light them so they
are easy to light later.
I
like to pre-light all the brand new candles that haven't been used before.
The last thing you want is a set of candles that won't light while your trying
to launch! Don't let them burn long at all. Just light them so they
are easy to light later.
 Notice the extra wax that has built up. We want to trim all the extra wax
that isn't doing anything but adding extra weight. Be careful not to
dislodge your candles while trimming. I like to wait until the wax is totally
dry before trimming. After it is dry, get all that extra wax off the
bottom and sides if necessary using your Exacto knife.
Notice the extra wax that has built up. We want to trim all the extra wax
that isn't doing anything but adding extra weight. Be careful not to
dislodge your candles while trimming. I like to wait until the wax is totally
dry before trimming. After it is dry, get all that extra wax off the
bottom and sides if necessary using your Exacto knife.
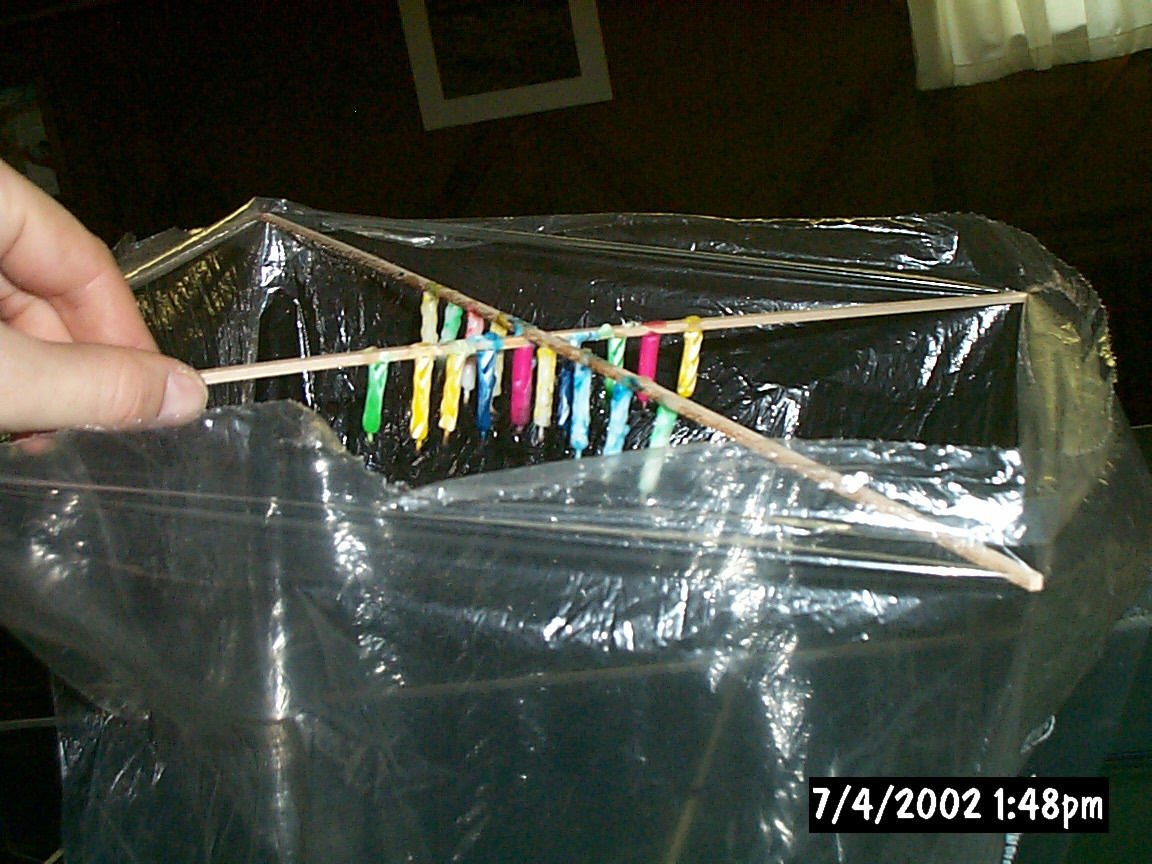
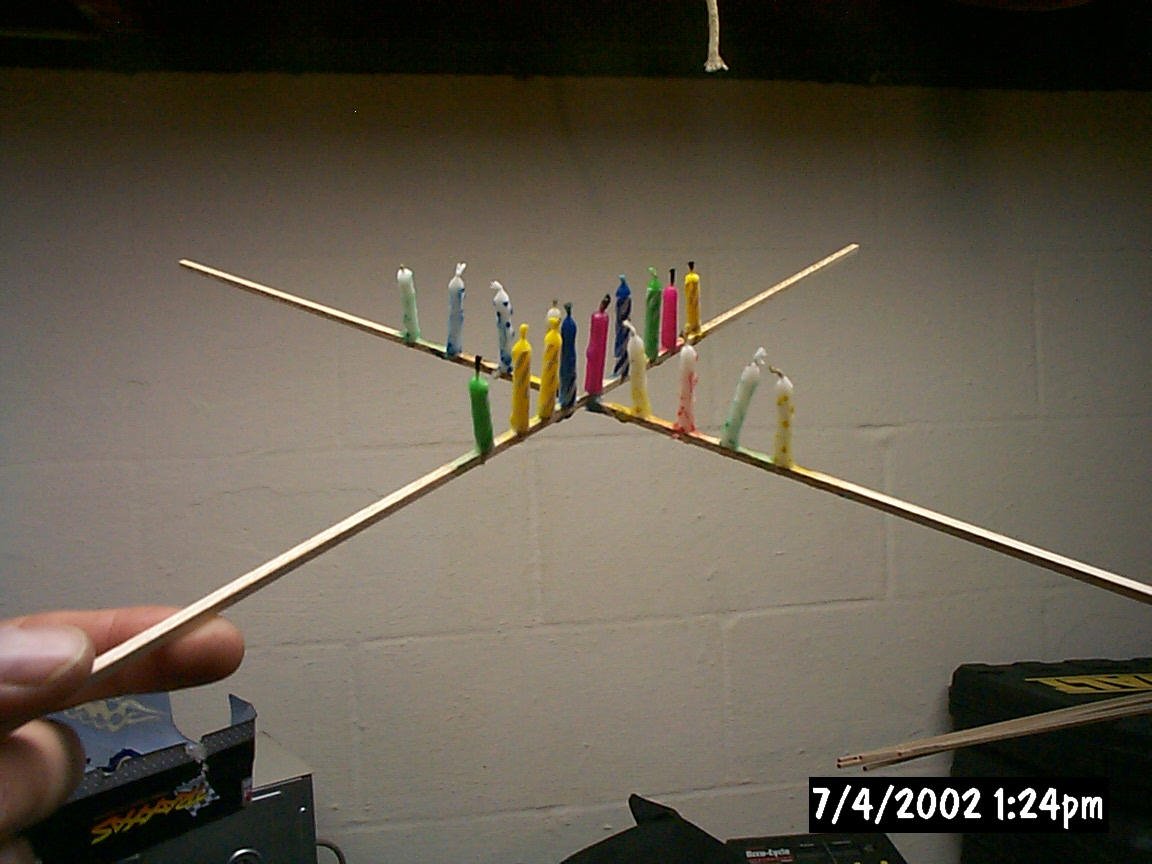 Here
is our UFO frame fully loaded and trimmed for flight.
Here
is our UFO frame fully loaded and trimmed for flight.
 I
like to throw it on the postal scale to make sure it isn't too heavy. This
one comes in at 0.4 ounces. oh yeah.... she'll fly!
I
like to throw it on the postal scale to make sure it isn't too heavy. This
one comes in at 0.4 ounces. oh yeah.... she'll fly!
THE BAG
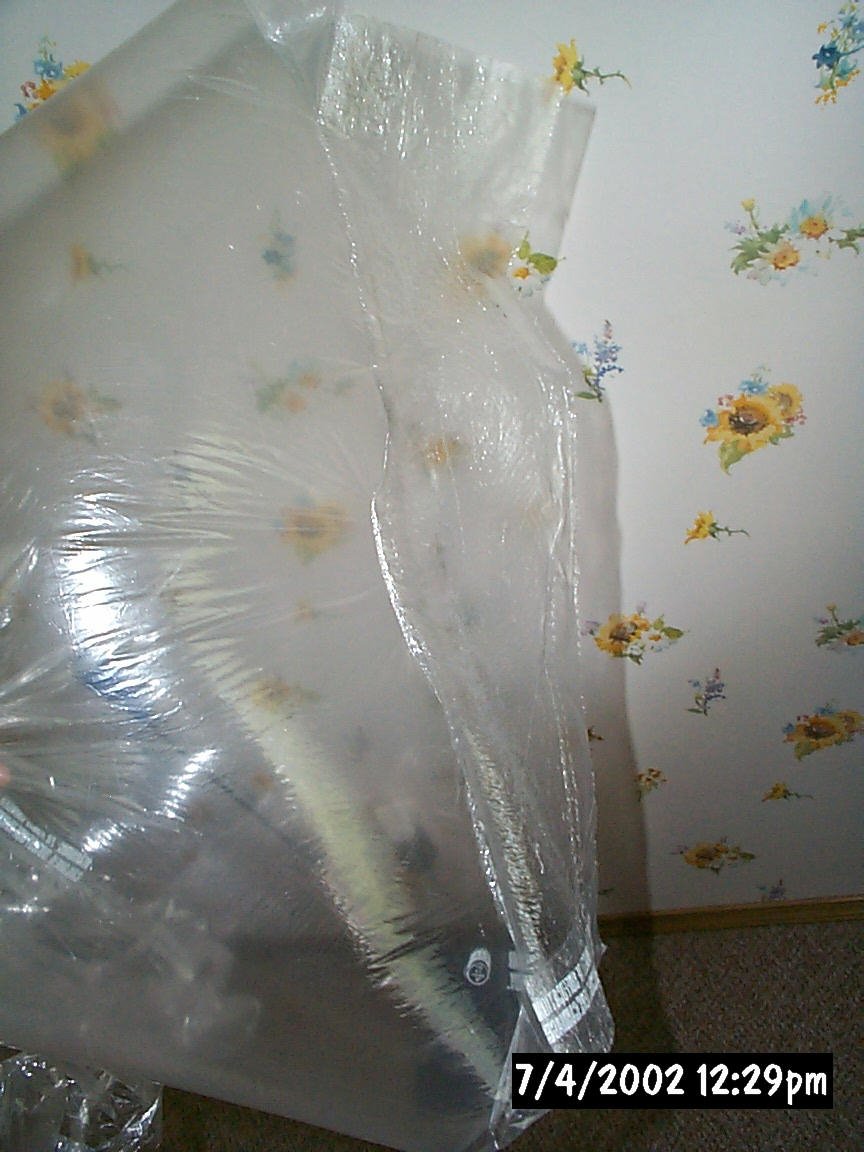
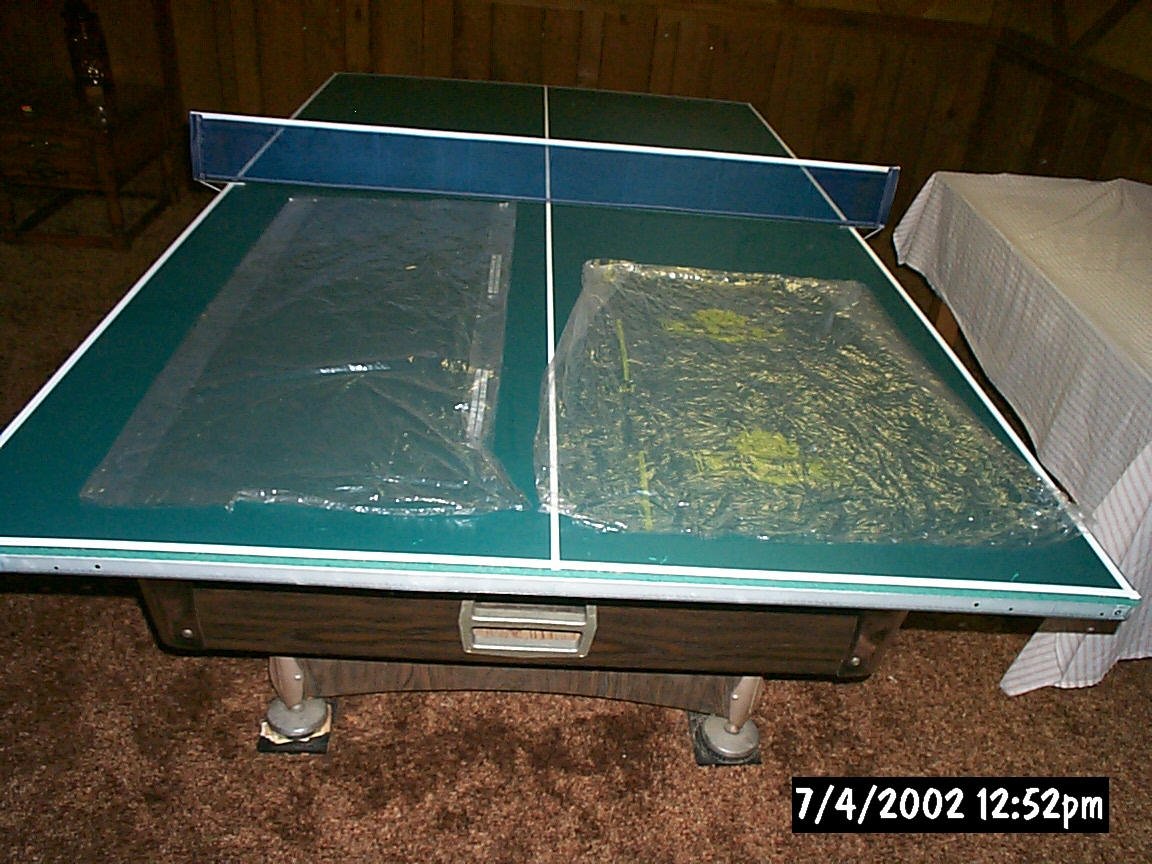 Grab
your dry cleaner bag. I find that typically the shorter standard bags (on
right) work better than the longer "dress bags" like that pictured on the left.
Though I have had some great flights with long bags, I have also had long bagged
UFO's never get off the ground due to the extra weight of the bigger bag, when shorter bags on the same night went
beautifully.
Grab
your dry cleaner bag. I find that typically the shorter standard bags (on
right) work better than the longer "dress bags" like that pictured on the left.
Though I have had some great flights with long bags, I have also had long bagged
UFO's never get off the ground due to the extra weight of the bigger bag, when shorter bags on the same night went
beautifully.
Place
a towel on a flat surface.
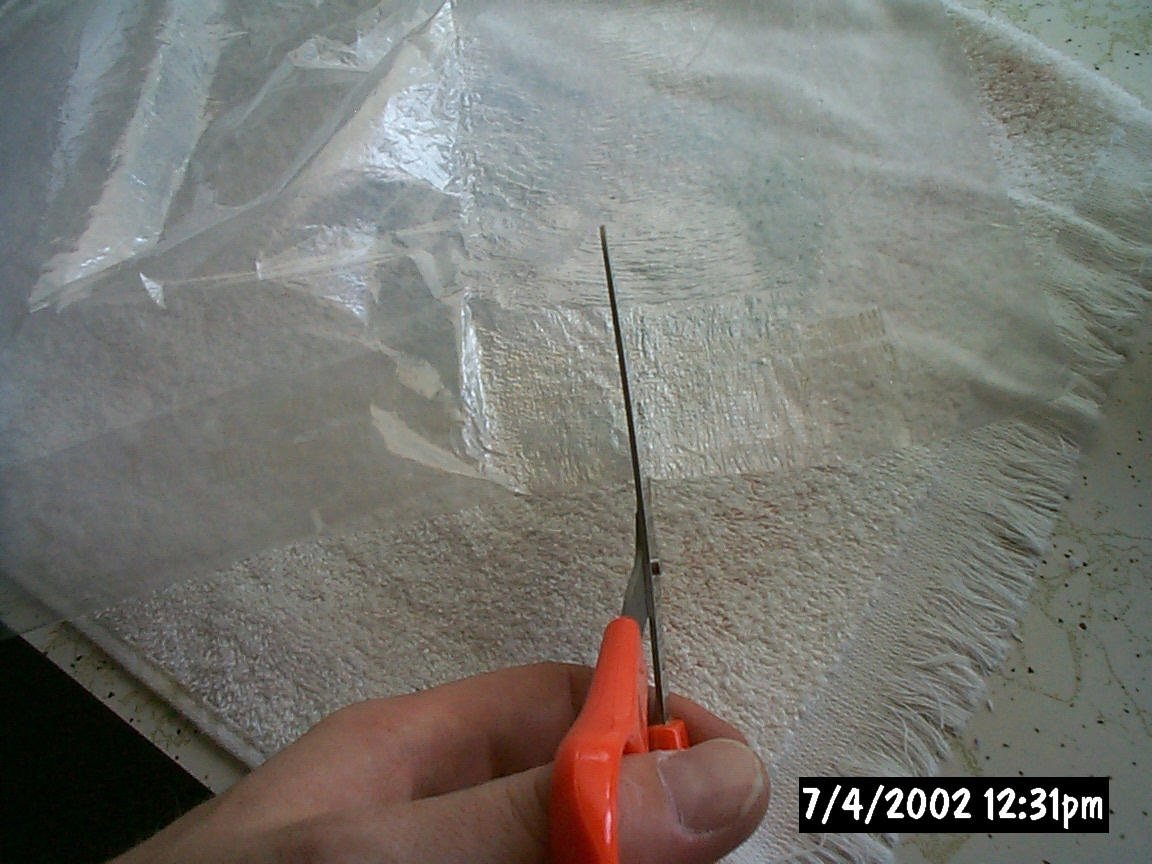
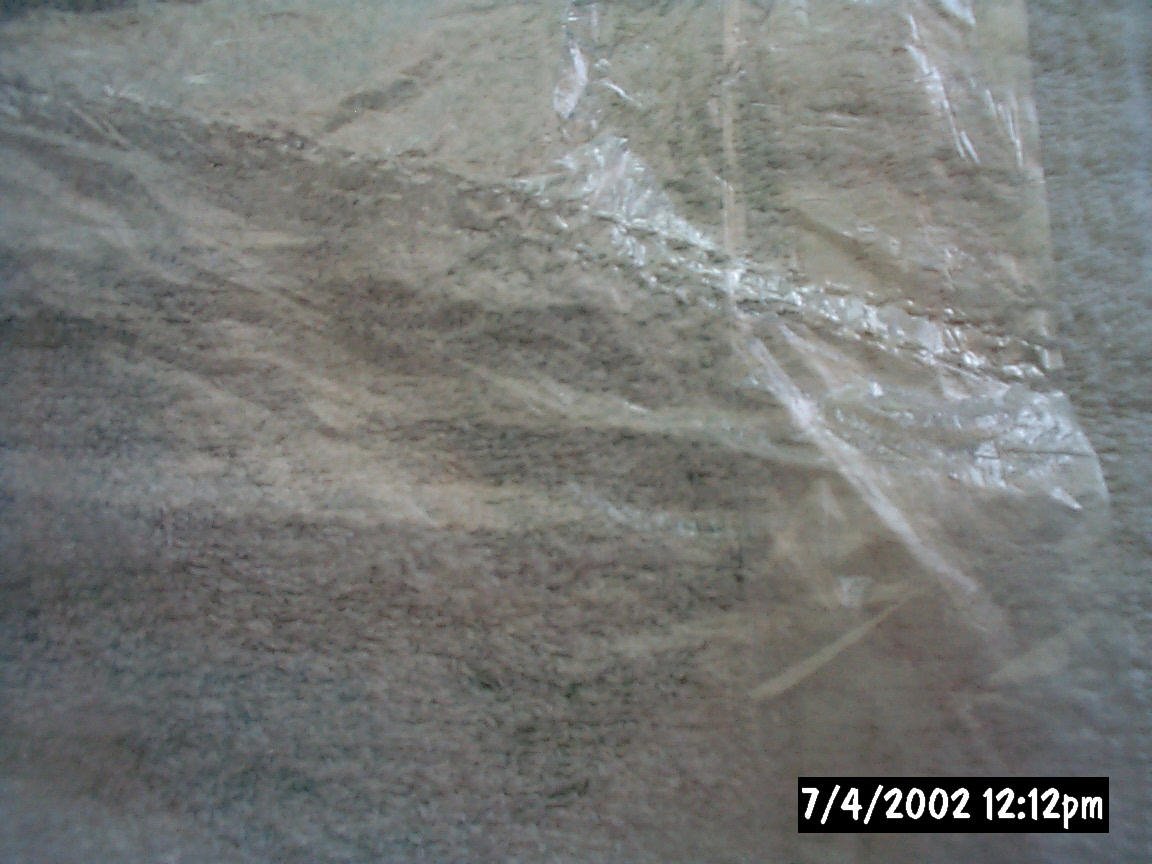 We
are going to seal the top of the bag so it will hold air. Notice the holes in
the top of the bag. We need to seal from the top, to below these
holes.
We
are going to seal the top of the bag so it will hold air. Notice the holes in
the top of the bag. We need to seal from the top, to below these
holes.
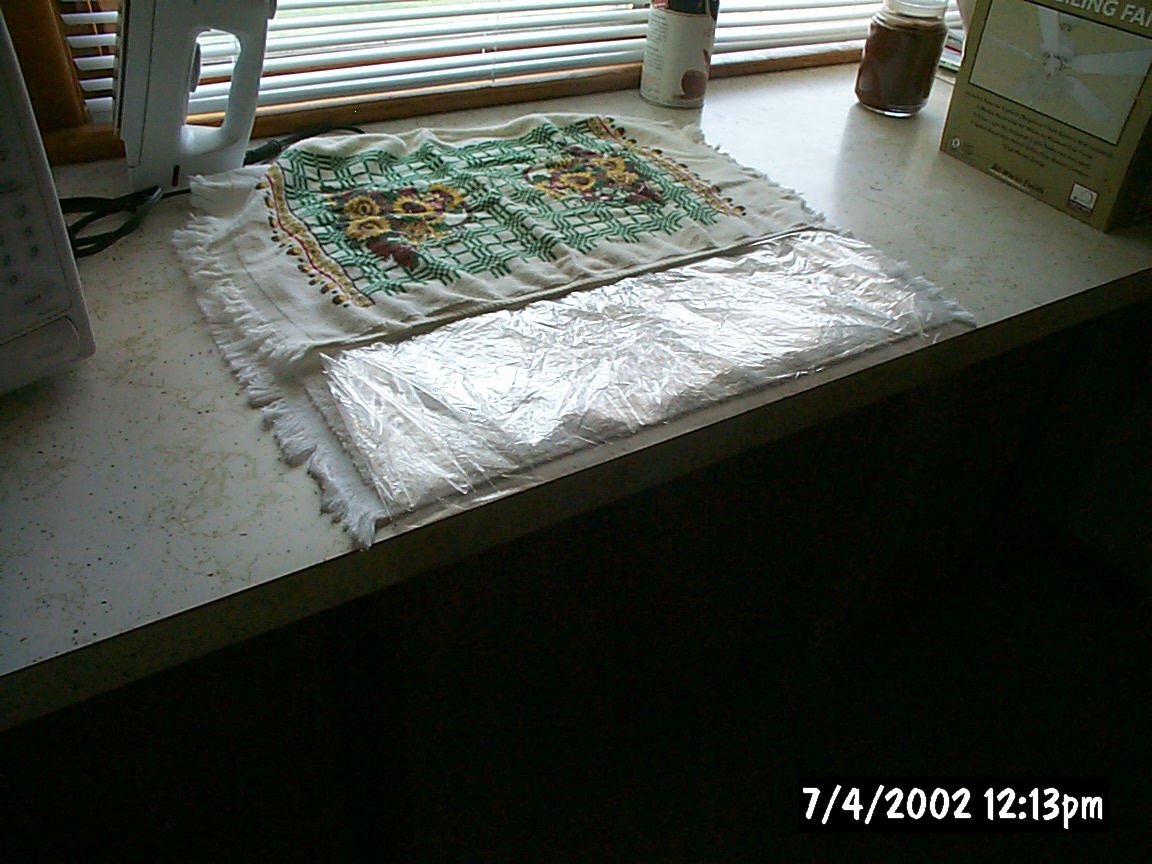 Place
a second towel over the bag so that you can iron the bag top closed. Be
sure to place the towel so that it covers from the very top of the bag, to down
below the holes in the top of the bag.
Place
a second towel over the bag so that you can iron the bag top closed. Be
sure to place the towel so that it covers from the very top of the bag, to down
below the holes in the top of the bag.
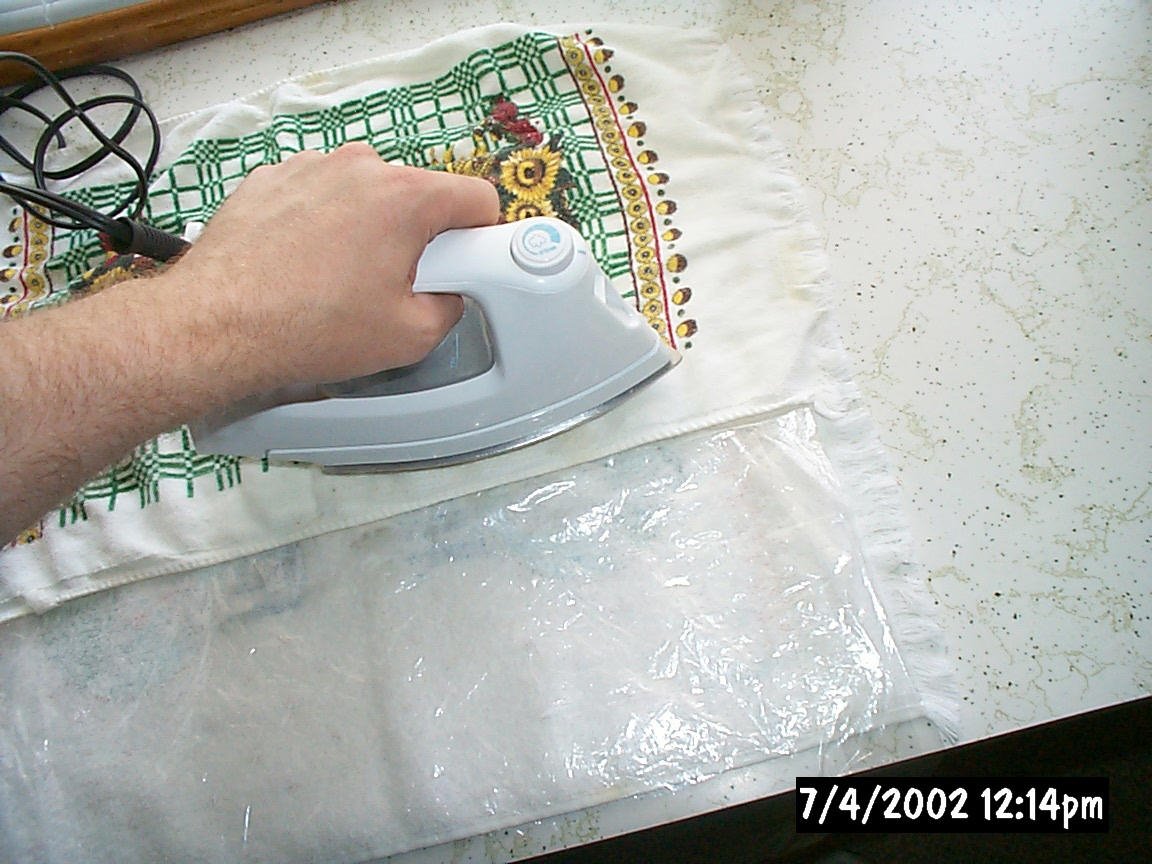 Iron
your bag top closed. This takes some practice. Whether or not you
are successful depends on the heat of the Iron, the thickness of the towels and
the length of time you hold the iron on the bag. Practice until the bag is
sealed. If you over heat the bag, it will melt onto the towel.
Iron
your bag top closed. This takes some practice. Whether or not you
are successful depends on the heat of the Iron, the thickness of the towels and
the length of time you hold the iron on the bag. Practice until the bag is
sealed. If you over heat the bag, it will melt onto the towel.
 Roll
back your top towel. You'll be able to tell right away if you under or
overheated the bag.
Roll
back your top towel. You'll be able to tell right away if you under or
overheated the bag.
 Test
your bag. Fill it with air and grasp the bottom closed. If it holds air
your set!
Test
your bag. Fill it with air and grasp the bottom closed. If it holds air
your set!
 Trim
some of the excess, if you have any from the top of the bag. Your UFO
doesn't need to lift the extra weight.
Trim
some of the excess, if you have any from the top of the bag. Your UFO
doesn't need to lift the extra weight.
 Time
to install the frame. You MAY need to trim a small length from your balsa.
It depends on the bag manufacturer. Some bags are slightly smaller than others.
The frame will fit snugly in the bottom of the bag with the candles facing up.
It needs to fit tight enough so that it won't slide out of the bag, but not too
tight as to have the balsa puncture the bag. Trim your balsa if necessary.
Time
to install the frame. You MAY need to trim a small length from your balsa.
It depends on the bag manufacturer. Some bags are slightly smaller than others.
The frame will fit snugly in the bottom of the bag with the candles facing up.
It needs to fit tight enough so that it won't slide out of the bag, but not too
tight as to have the balsa puncture the bag. Trim your balsa if necessary.

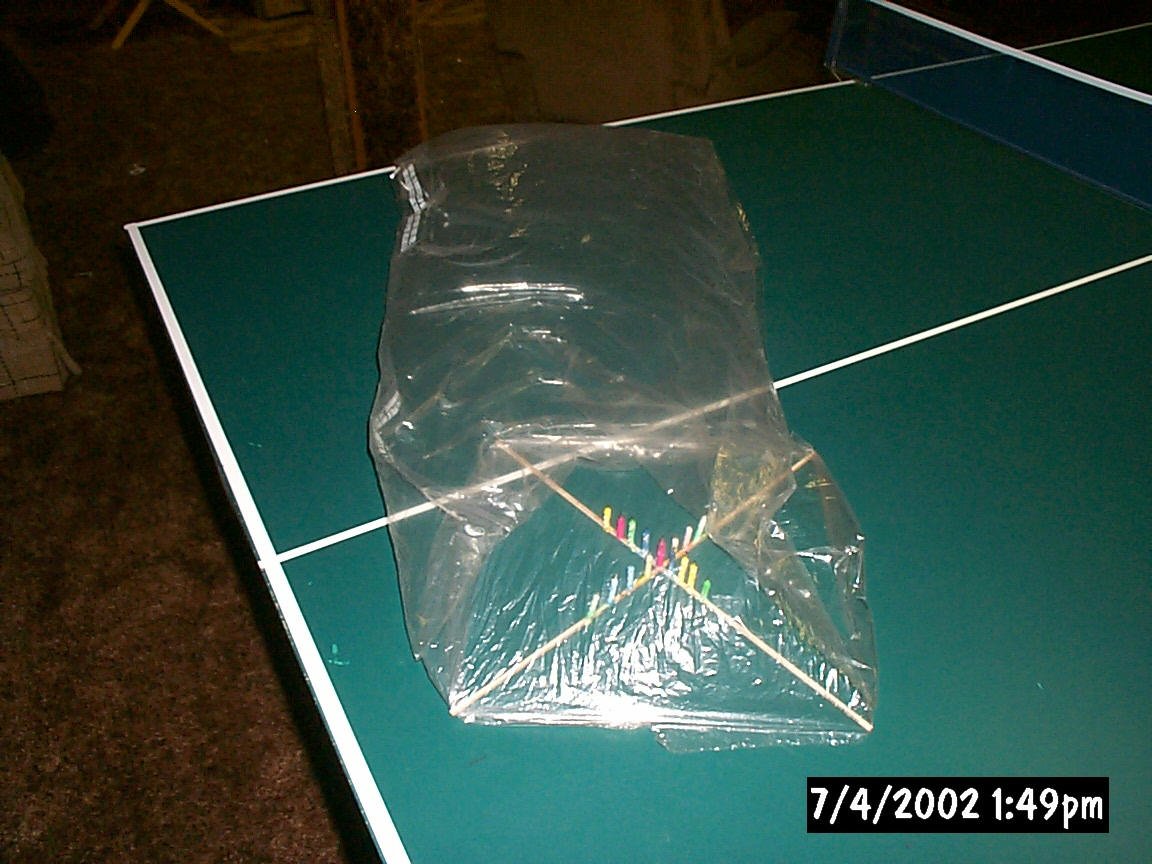 Here
is the frame installed and ready to go.
Here
is the frame installed and ready to go.
THE LAUNCH!
First of all it has to be virtually windless! Even the slightest breeze will blow the side of the bag into your burning candles. Unless it is dead calm, try for another night. Also... the colder it is outside the better. Remember, hot air rises. If it is 100 degrees outside and your bag air is 100 degrees it will not rise one bit! If it is 40 degrees outside and your bag air is 100, it will climb like a bat out of hell. There are formulas to figure this crap out but I don't bother. My .4 ounce framed UFO's have always flown even on warm 80 degree nights.
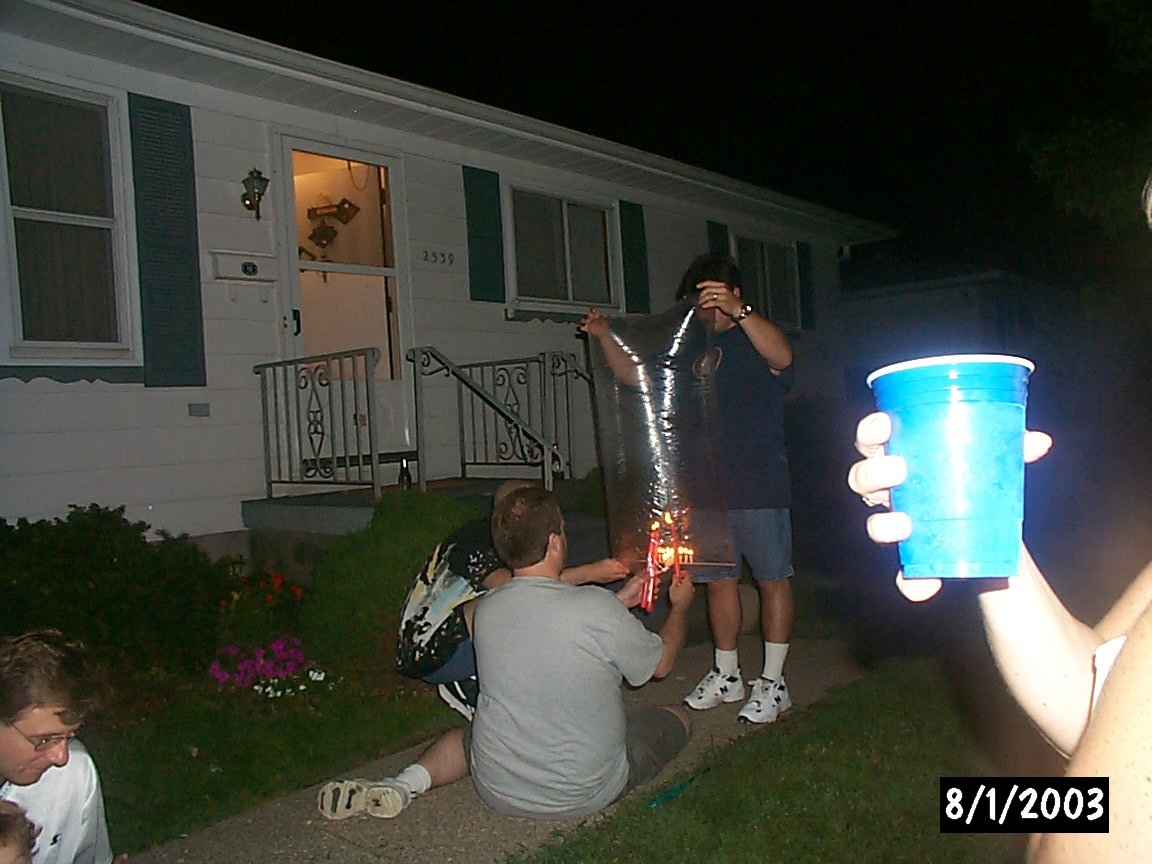
Take your UFO outside and get a helper to hold it for you.

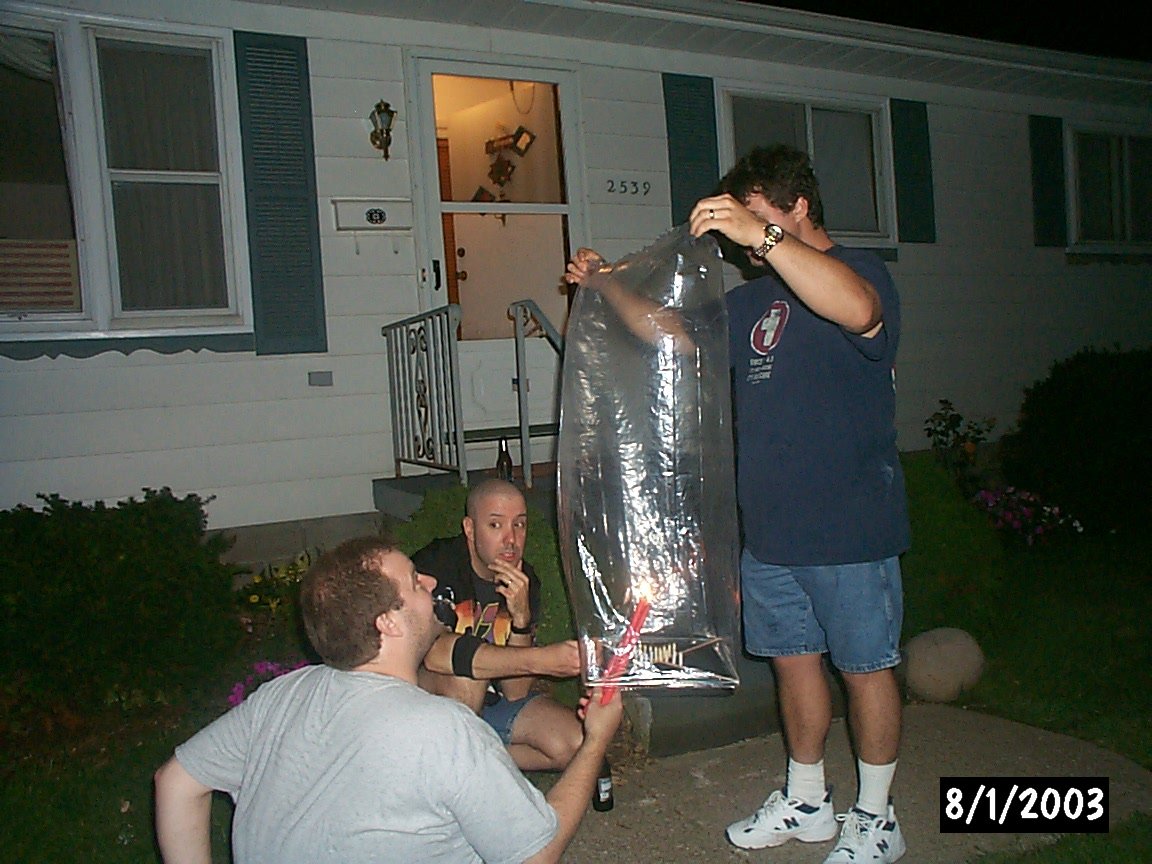 Use
one, or in my case (3) preheat candles to preheat the bag. You do not want to light the
birthday candles right away. You want to fill the bag with hot air FIRST.
Use
one, or in my case (3) preheat candles to preheat the bag. You do not want to light the
birthday candles right away. You want to fill the bag with hot air FIRST.
 When
the time is right (a judgment call by the holder) light all of your candles. Light
them quickly! You don't want to be holding the bag DOWN while you light the rest
of the candles. If it is hot outside and the bag is heating slowly, you can
continue to use your big preheat candles along with the lit birthday candles until the
UFO is ready to fly. The
person holding the UFO needs to be aware of how "light" it is getting.
He/she should tell you when it feels like it wants to fly away. At that
point, get your big preheat candles out of there and give it a VERY gentle shove
upward. If it's hot enough, she'll fly!
When
the time is right (a judgment call by the holder) light all of your candles. Light
them quickly! You don't want to be holding the bag DOWN while you light the rest
of the candles. If it is hot outside and the bag is heating slowly, you can
continue to use your big preheat candles along with the lit birthday candles until the
UFO is ready to fly. The
person holding the UFO needs to be aware of how "light" it is getting.
He/she should tell you when it feels like it wants to fly away. At that
point, get your big preheat candles out of there and give it a VERY gentle shove
upward. If it's hot enough, she'll fly!
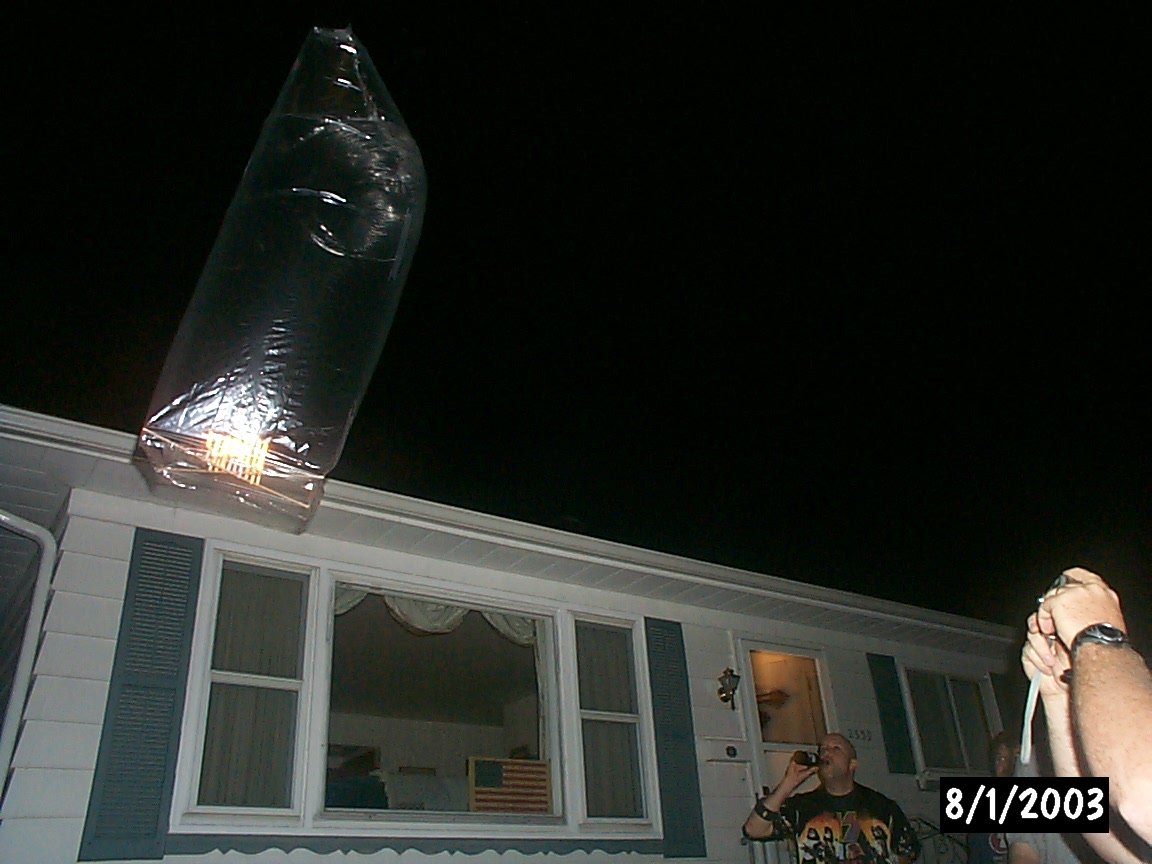
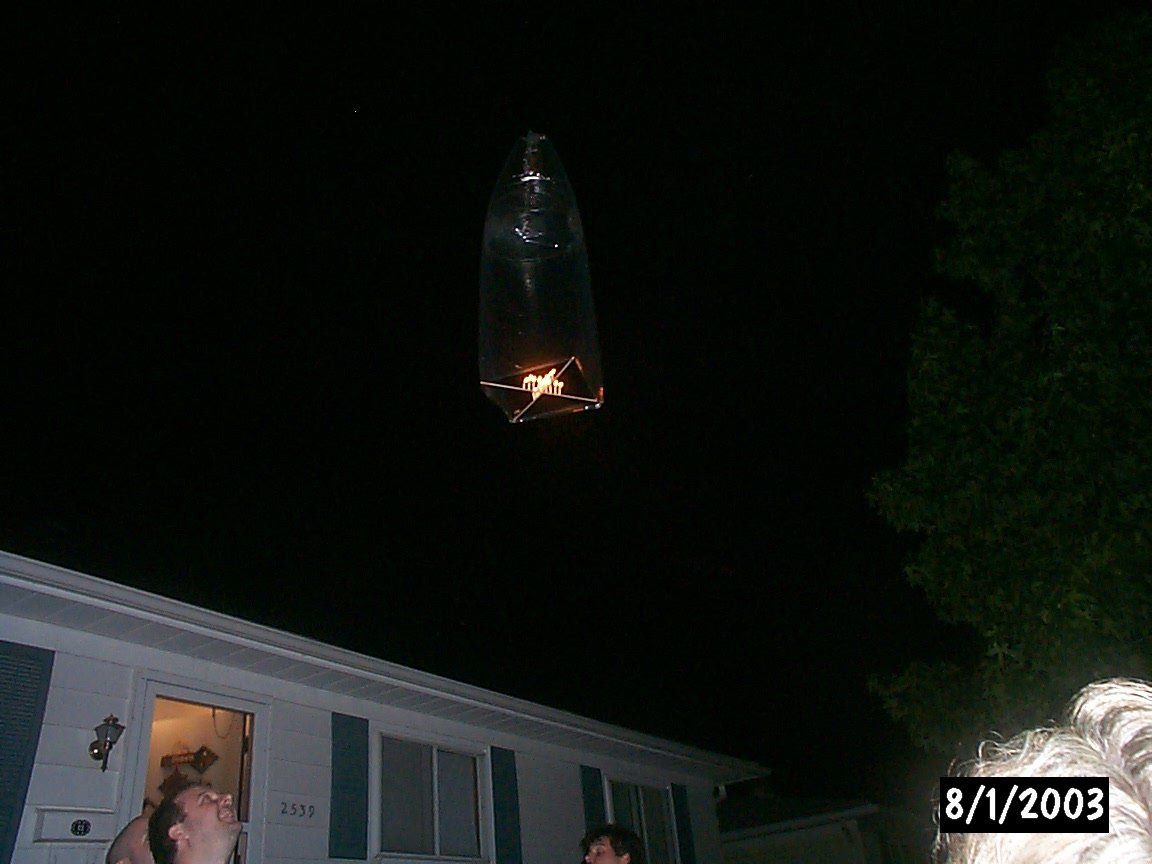
 There
she goes!!!!
There
she goes!!!!
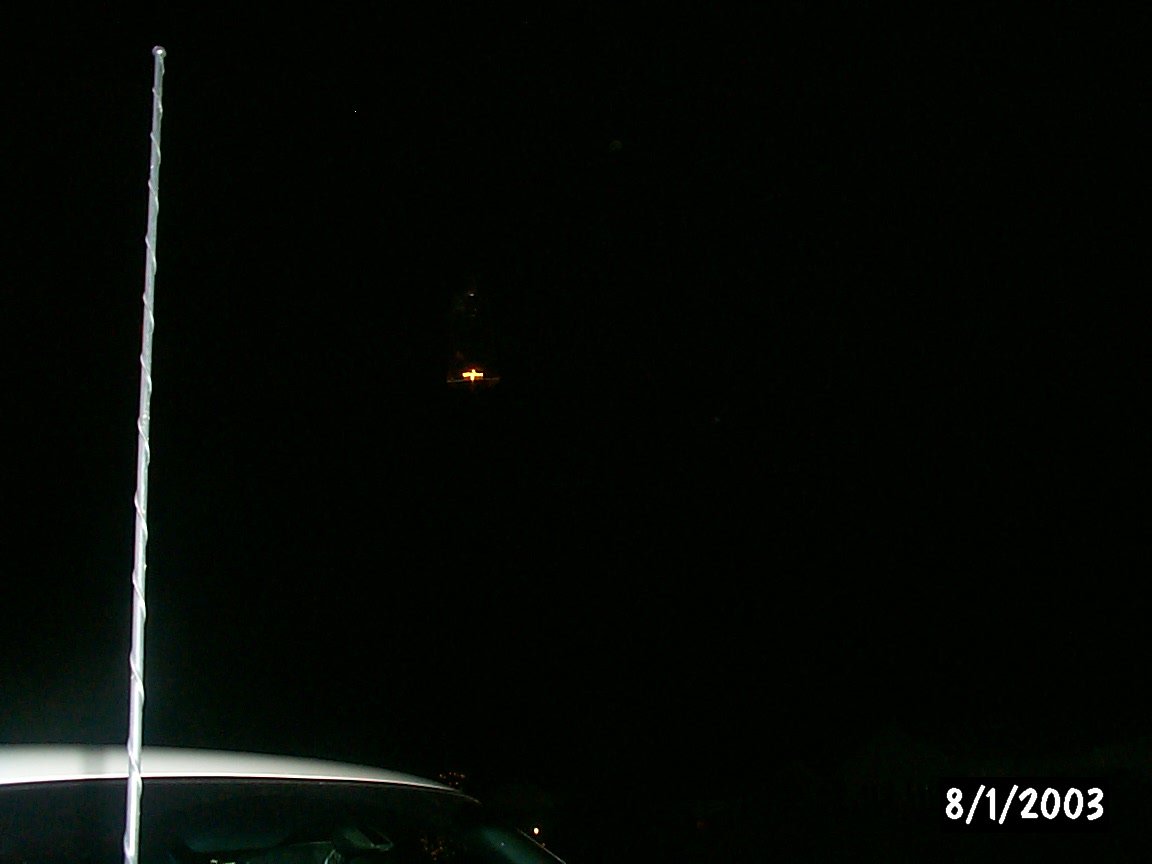
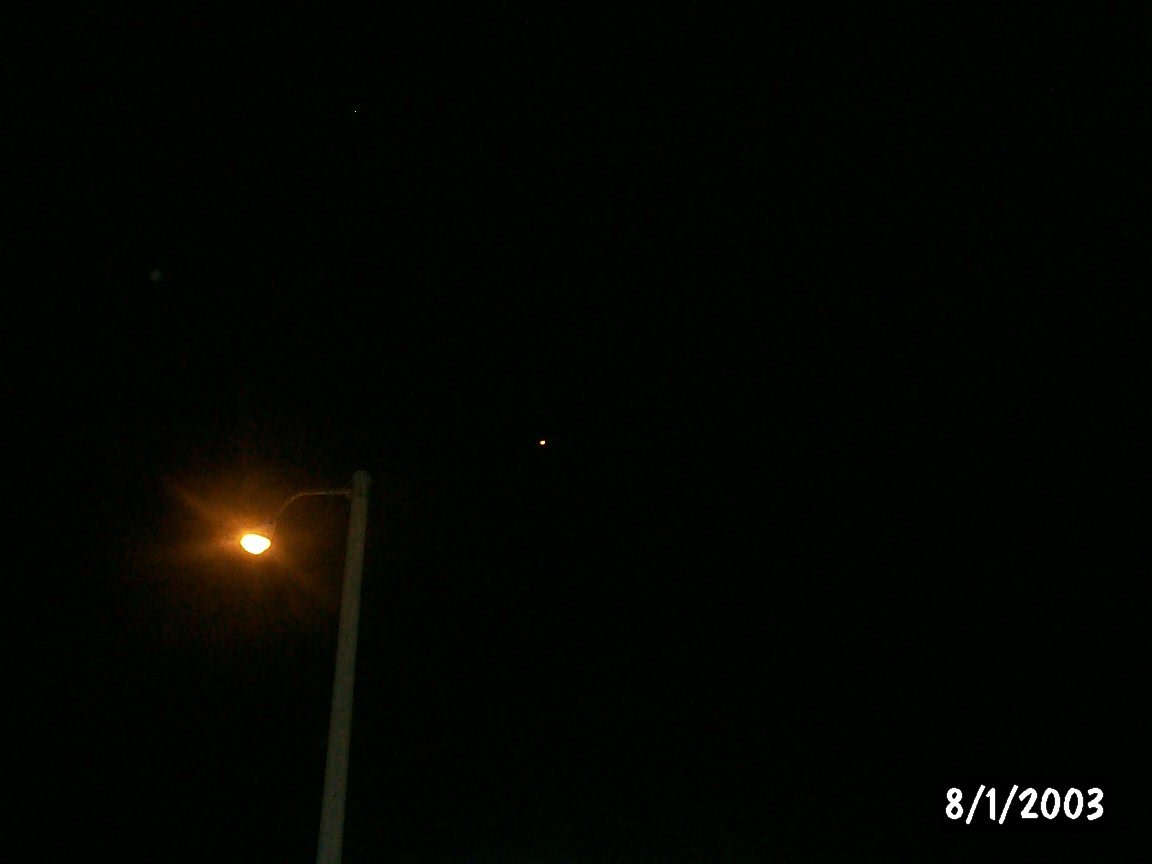 See
that tiny spec? (not the streetlight). That UFO is WAY up there!
See
that tiny spec? (not the streetlight). That UFO is WAY up there!
SO THERE YOU HAVE IT. YOUR VERY OWN UFO!
VIDEOS
THE PREHEAT(2
megs)
CANDLES ARE LIT!(2.5
megs)
GO BABY GO!(2.3
megs)
Due to their size, you may
wish to right click on the above links and choose "save as".
IMPORTANT:
These can be dangerous! If built and launched correctly they are fairly safe. A proper working UFO will rise HIGH into the sky. After the candles burn down and reach the balsa, the balsa will start on fire, eventually breaking the balsa and the snug fit it has in the bag. The burning balsa will then be quickly extinguished during it's LONG fall to the ground. The bag also floats harmlessly to the ground.
However, a UFO that is either too heavy, or that doesn't get hot enough may just skim along 10-20 feet above the ground and end up hitting someone's house! If your UFO does NOT climb way the hell up there, it is your responsibility to monitor or even follow your UFO to ensure it doesn't do any harm to any person or property. Yes, I personally have set piles of leaves and dry grass on fire and in one instance even prevented a property fire by following my DUD UFO's! Fortunately, my pals and I are fairly good at it now and rarely have the need to be concerned, but it does still happen from time to time.
DO NOT THINK FOR A MINUTE THAT YOUR UFO WILL NOT START SOMETHING ON FIRE!
Remember, if it climbs high your fine. If it hangs low, watch it...follow it... BE SAFE!!
Kickthefog.com can make no warranties on the methods and procedures presented here. I have built many of these devices and am happy with the results but your skills and mindset pertaining to safety, are unknown to me. Kickthefog.com WILL NOT be held liable for the mis-use of the information provided here. Proceed at your own risk!
DISCUSS YOUR UFO ADVENTURES IN THE UFO FORUM!